Index
Start
3D Viewer
Tab switch
3D Editor
Macro list
Tools and Settings
Start
Tap Tiny3D icon on home screen. After loading data, show 3D Viewer.
Tab switch
3D Viewer
Display 3D object.
3D Editor
Edit 3D object data.
Macro
Edit position/color macro for smooth input position/ color setting.
Tools
Copy/move item, download/upload object data, and setting of 3D Viewer.
Guide
Display guide.
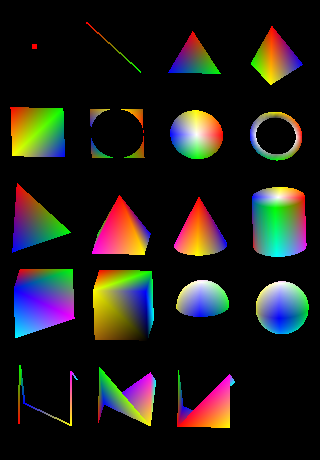
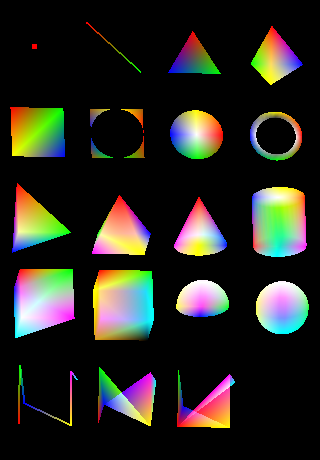
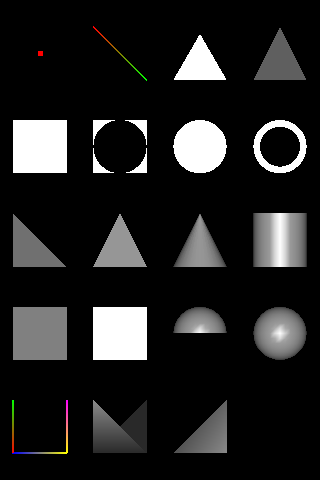
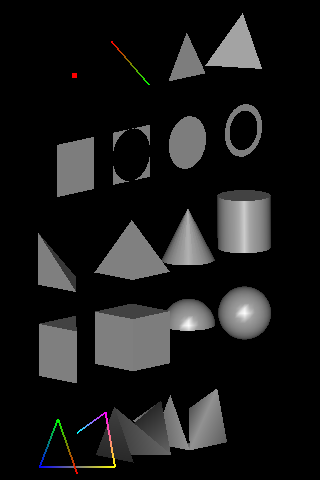
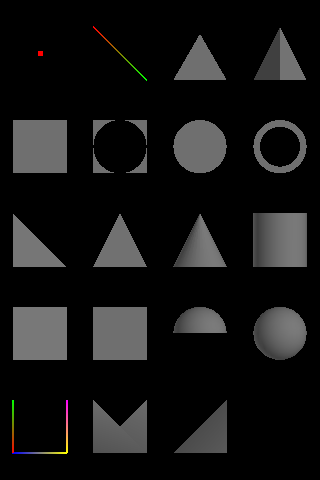
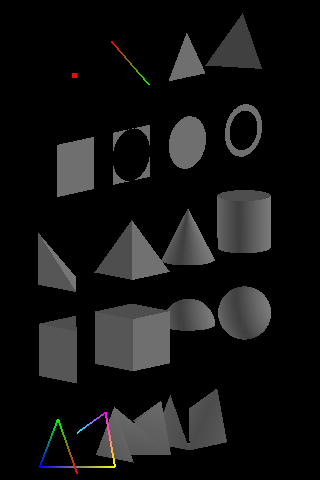
3D Viewer

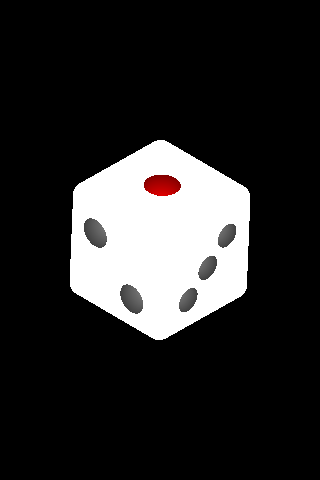
Full screen 3D object viewer. This viewer is operated with the touch panel. Operation guide show upside this viewer. If it is not finish to draw elements, show indicator upper right of the screen.
Go to 3D Editor: Tap display
Move objects: Drag two fingers
Rotate objects: Drag
Zoom in/out: Pinch open/close
Reset view settings: Shake device lightly
Definition of axis
X axis
It is the right and left of the screen in the initial state. The right side is a plus.
Y axis
It is the up and down of the screen in the initial state. The up side is a plus.
Z axis
It is the back and forth of the screen in the initial state. The front side is a plus.
Normal mode
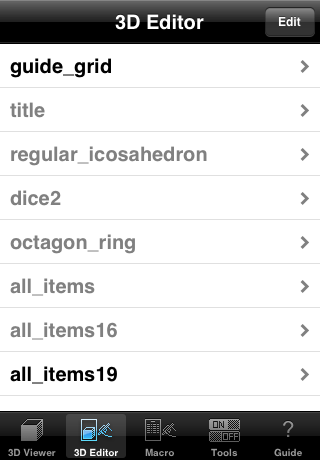
Move lower list: Tap list item.
Move upper list: Tap back button in navigation bar.
Move 3D Editor edit mode: Tap Edit button.
Edit mode

Add item: Tap  button.
Delete item: Tap  button and tap Delete button.
Edit item: Tap  button.
Move item: Drag  .
.
Switch of display/not display: Tap item.
Back to normal mode: Tap Done button.
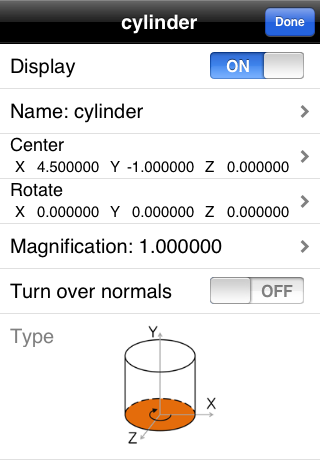
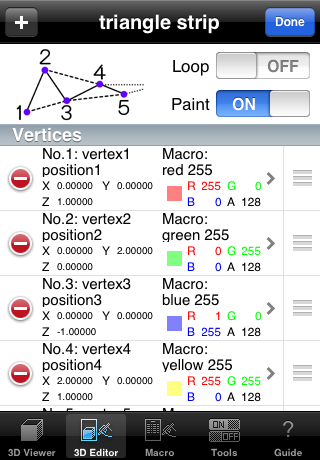
Object list edit item
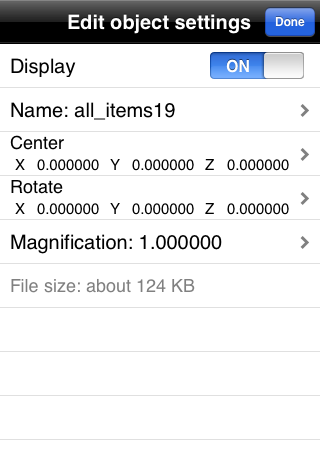
Display switch
Switch of display/not display this object
Name
This name display in object list. And this name use for filename of upload object.
Center
Center of this object. Default setting is 0 in all axis.
Rotate
Object rotation of each axis. Default setting is 0 in all axis.
Magnification
Object magnification. If it 1.0, display by a size as it is.
File size(not editable)
Object file size. It is displayed in what was made or download or import since version 2.0.
Part list edit item
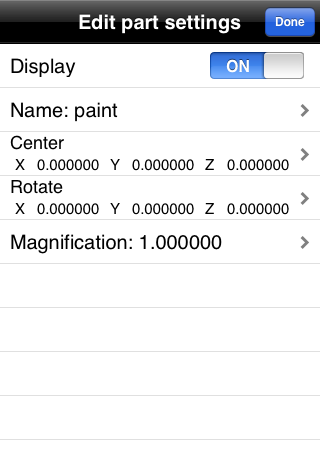
Display switch
Switch of display/not display this part.
Name
This name display in part list.
Center
Center of this part. Default setting is 0 in all axis.
Rotate
Part rotation of each axis. Default setting is 0 in all axis.
Magnification
Part magnification. If it 1.0, display by a size as it is.
Element list edit item
Display switch
Switch of display/not display this element.
Name
This name display in element list.
Center
Center of this element.
Rotate
Element rotation of each axis.
Magnification
Element magnification.
Turn over surface
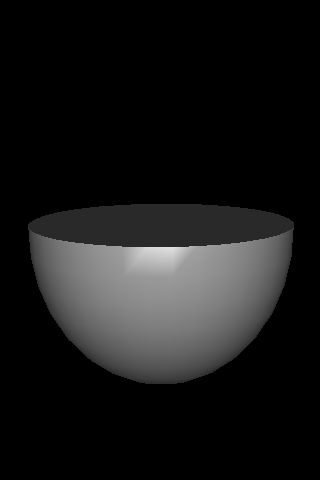
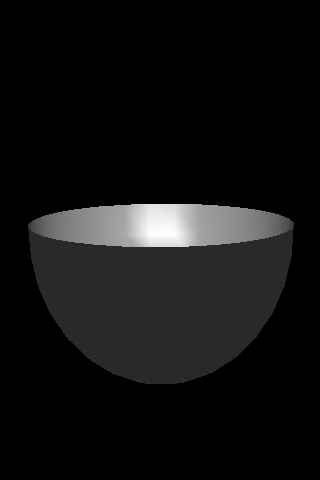
This switch changes the direction of the surface of the element.
Type
If it is new element, it can change element type. This cannot change if it saved.
Element detail editor

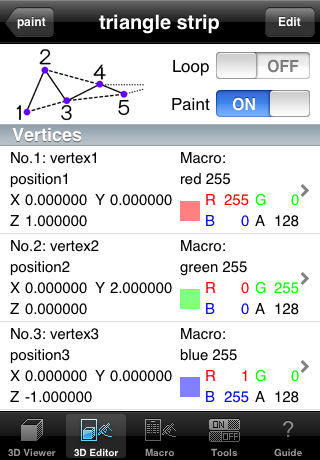
Paint switch
If it turned off, show wire frame.
Wall switch
Top
Show top wall of this element.
Side
If angle less than 360 degrees, show side wall of this element. This switch show cone, cylinder, hemisphere and sphere element.
Bottom
Show bottom wall of this element.
Loop
If this switch set on, line strip and triangle strip making connection from last vertex to first vertex. Triangle fan making connection from last vertex to second vertex.
Point size
Size of this point element.
Line width
Width of this line element.
Edge1 Len.
Length of first edge. This edge always on the X axis if all rotation value is 0.
Edge2 Len.
Length of second edge on XZ plane.
Angle(between two edges)
Angle of two edges. It specifies it within the range from 0 to 360 degrees.
Radius X
Radius of this element at X axis.
Radius Y
Radius of this element at Y axis.
Radius Z
Radius of this element at Z axis.
Angle
Angle of bottom angle. Set value from 0 to 360 degrees.
Partition
Partition of angle. Please set the value to 1 or more.
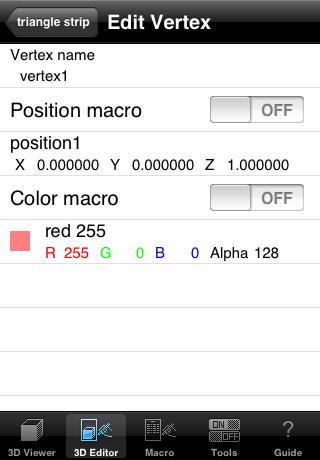
Vertex name
Set vertex name.
Position/Color macro switch
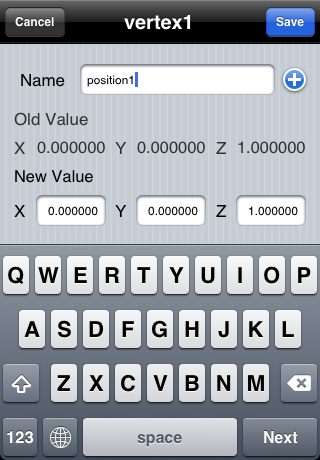
If you use position/color macro for input vertex position/color, turn on this switch.
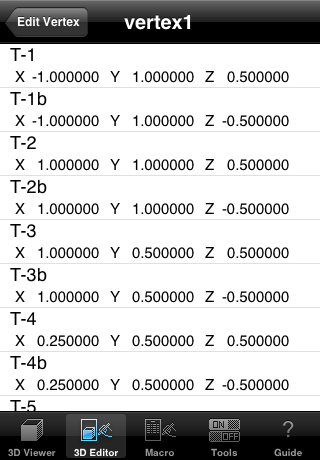
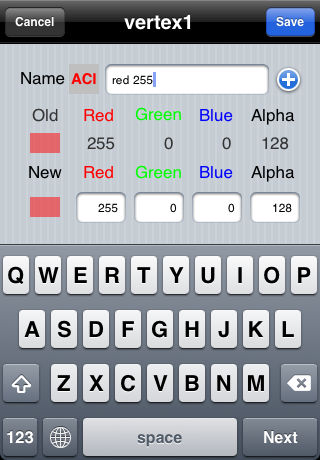
Position/Color values
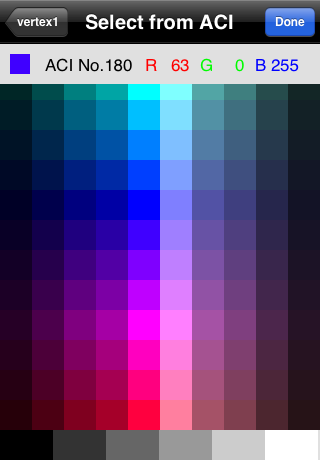
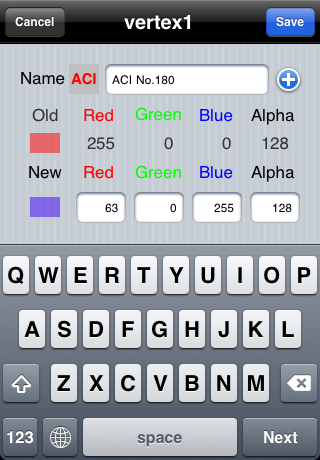
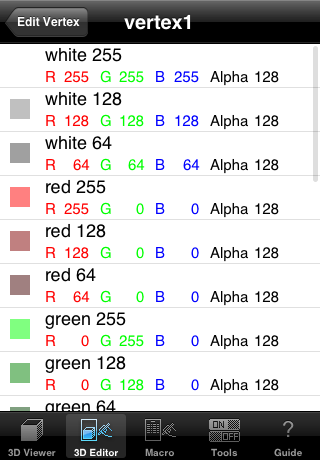
If you turned on position/color macro switch, show macro name and macro settings. If you change macro, tap and select macro in list. If you turned off macro switch, present set values are displayed. If you change values, tap and input new values. If you want add present set values to macro, tap button in the upper right of the input screen. The color can be chosen from ACI(AutoCAD Color Index).
Macro list
Normal mode
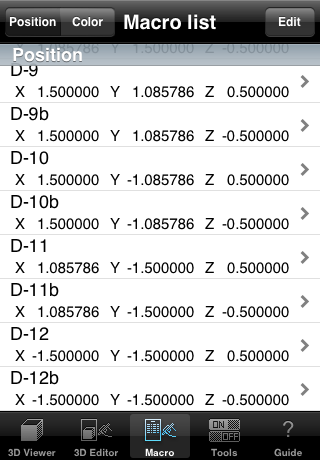
Position
Macro settings list of vertex position.
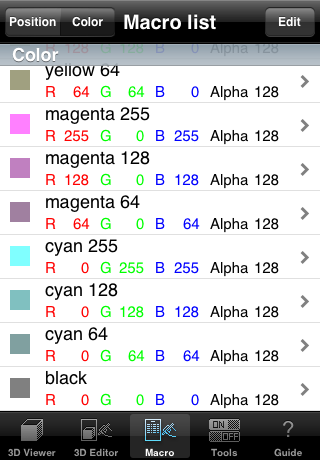
Color
Macro settings list of vertex color.
Change shown list: Tap left button in navigation bar.
Edit item values: Tap item
Go to macro list edit mode: Tap Edit button
Edit mode
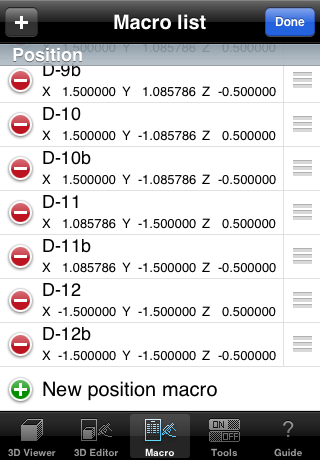

Add macro: Tap button.
Delete macro: Tap button and tap Delete button.
Move macro: Drag .
Edit item values: Tap item.
Back to normal mode: Tap Done button.
Tools and Settings
Copy or Move
Mode switch
If you copy item, tune on this switch. If you move item, turn off this switch.
Target
Tap and select target you want to copy or move.
From
Tap and select item you want to copy or move.
To
Tap and select you want copy or move to.
Copy or Move button
Executed copy or move. If settings are not complete, hide character on this button.
Download
HTTP(Tiny3D or DXF Format)
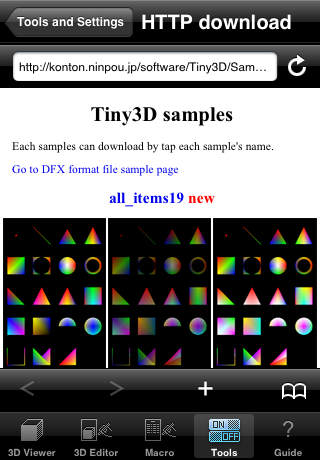
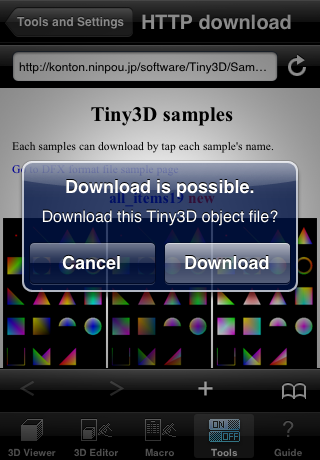
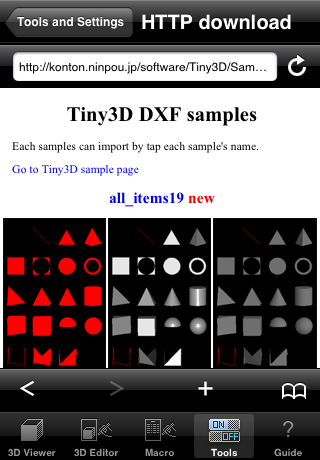
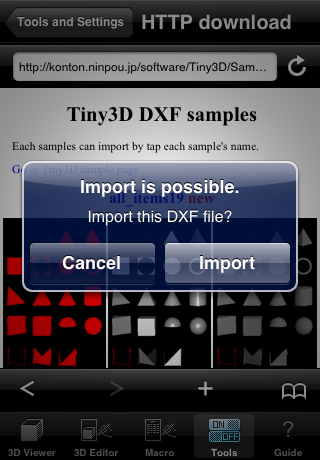
Download Tiny3D object file or import DXF file. This is an easy web browser. If you tap a link that linked with downloadable format file, open the window for select download or not. The DXF file is changed into the Tiny3D format. When the size of the converted file exceeds 10MB, it is not possible to preserve it.
FTP(Tiny3D Format)(DXF Format import)
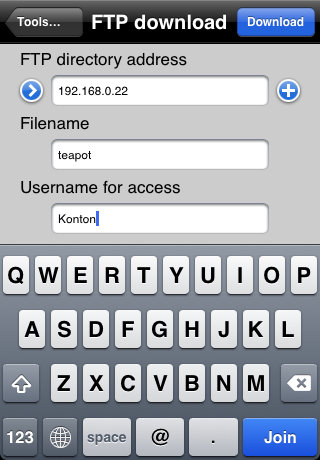
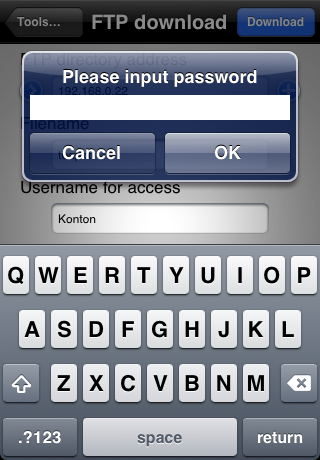
Download Tiny3D object file or import DXF file at the set FTP directory address and filename.
Select bookmark: Tap button.
Add bookmark: Tap  button
Upload
FTP
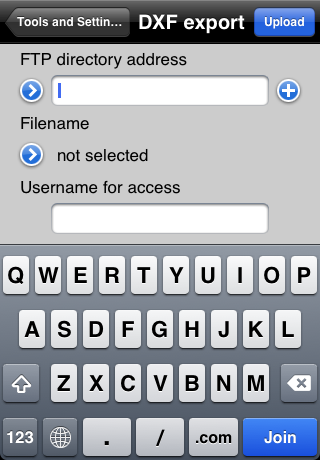
Upload Tiny3D object file or DXF format file at the set FTP directory address.
Select bookmark: Tap upper button.
Add bookmark: Tap button.
Select object: Tap lower button
Email attached(DXF format)
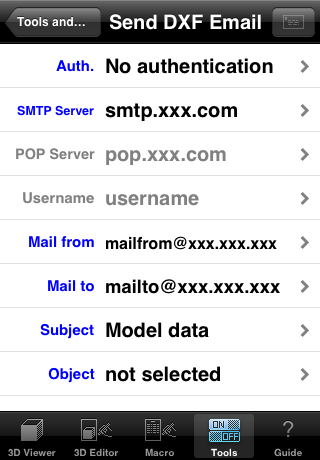
If information necessary for the transmission is input, an upper right Mail Sending button becomes effective. POP before SMTP and SMTP-AUTH (PLAIN and LOGIN) can be used for the attestation. The attached file becomes DXF format.
Rotation
Auto rotation switch
If it turn of, auto rotation 3D object at 3D Viewer.
Rotate angle
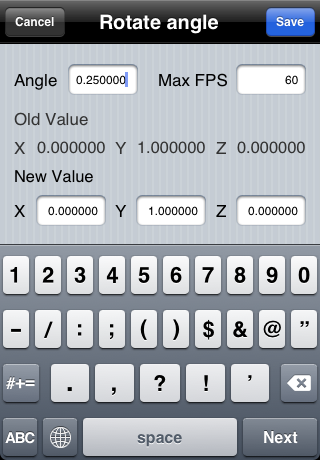
Set auto rotation angles. And rotation vector. The timing of rewriting can be adjusted by changing maximum FPS.
3D Viewer settings
Background color
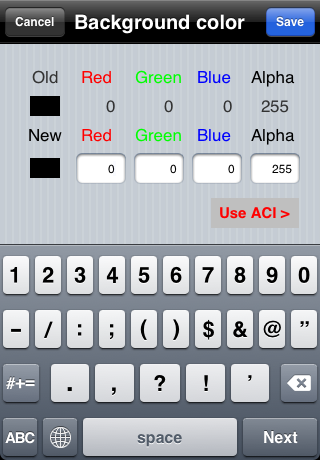
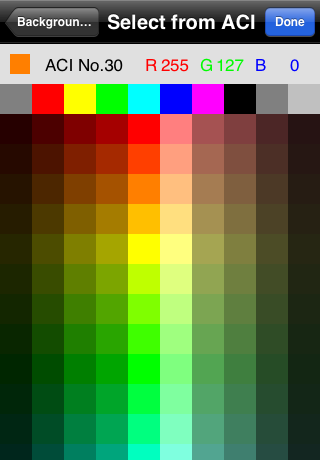

Set background color at 3D Viewer. The color can be chosen from ACI(AutoCAD Color Index).
View center position
Set center position at 3D Viewer.
Display guide switch
Display operation guide on 3D Viewer.
Screen magnification
Set the range of the display. Default setting is 6. This settings show range from -6 to 6 at X axis, and from -9 to 9 at Y axis when start display.
Blend mode
Z Buffer switch
If it turn on, use Z buffer for display 3D Viewer.
Add
Blend ratio for object in exterior. Default setting is 1(100%).
Base
Blend ratio for object in interior. Default setting is 0(0%).
Lighting
Front light
The light is shone on from the side at which you are looking.
Indirect lighting
It shines on by the indirect lighting in the space.

These two lights can be turned on at the same time.
Macro linkage
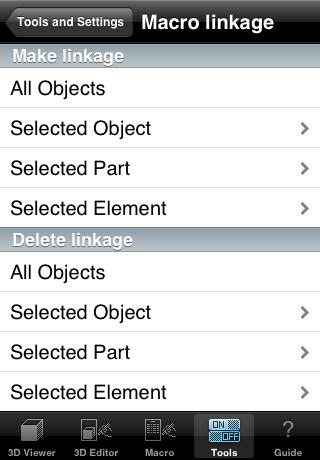
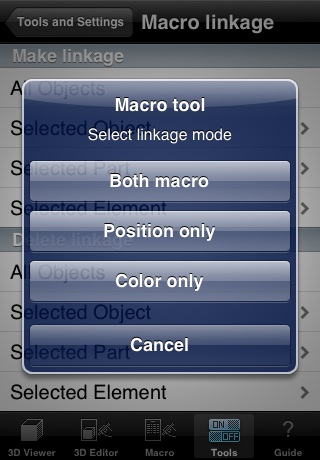
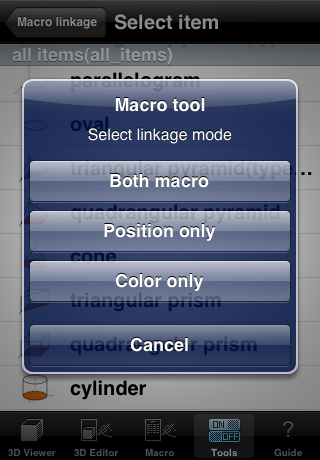
Make linkage
Within the range of the selected hierarchy, if it setting is same to macro setting, making linkage to macro setting.
Delete linkage
Within the range of the selected hierarchy, delete linkage to macro setting.
Delete macro
Delete all position or color macro.
Manual save

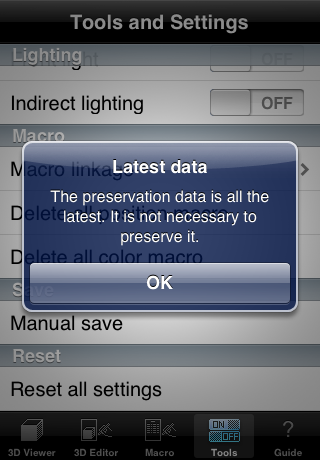
The existing state of things is preserved. When it is not necessary to preserve it, the message is displayed. When the size of the file of one object exceeds 10MB, it is not possible to preserve it.
Reset
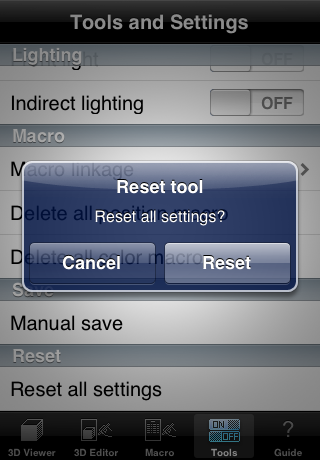
Reset all settings at this tools tab. Tap this and tap Reset button.